
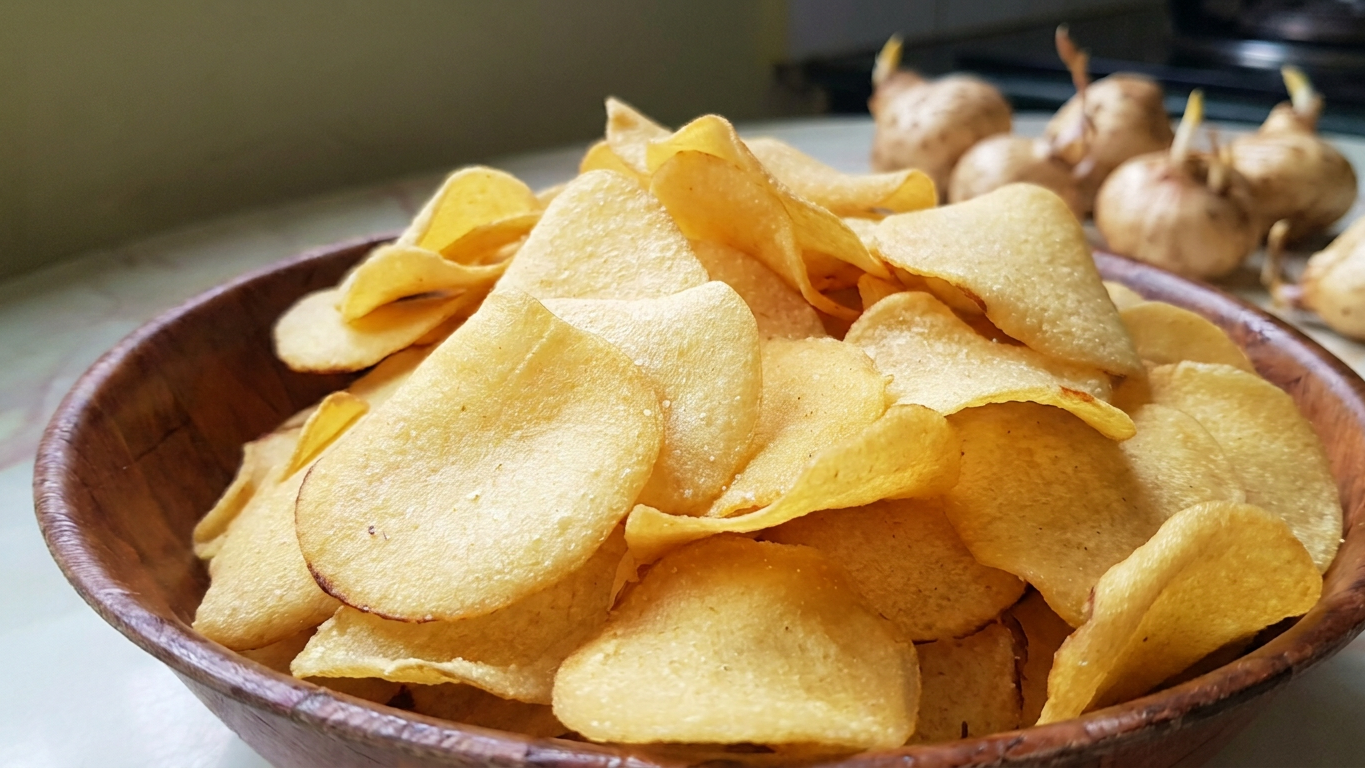
Learn how to make crispy arrowhead chips at home with this simple frying technique. Get the perfect golden crunch every time.
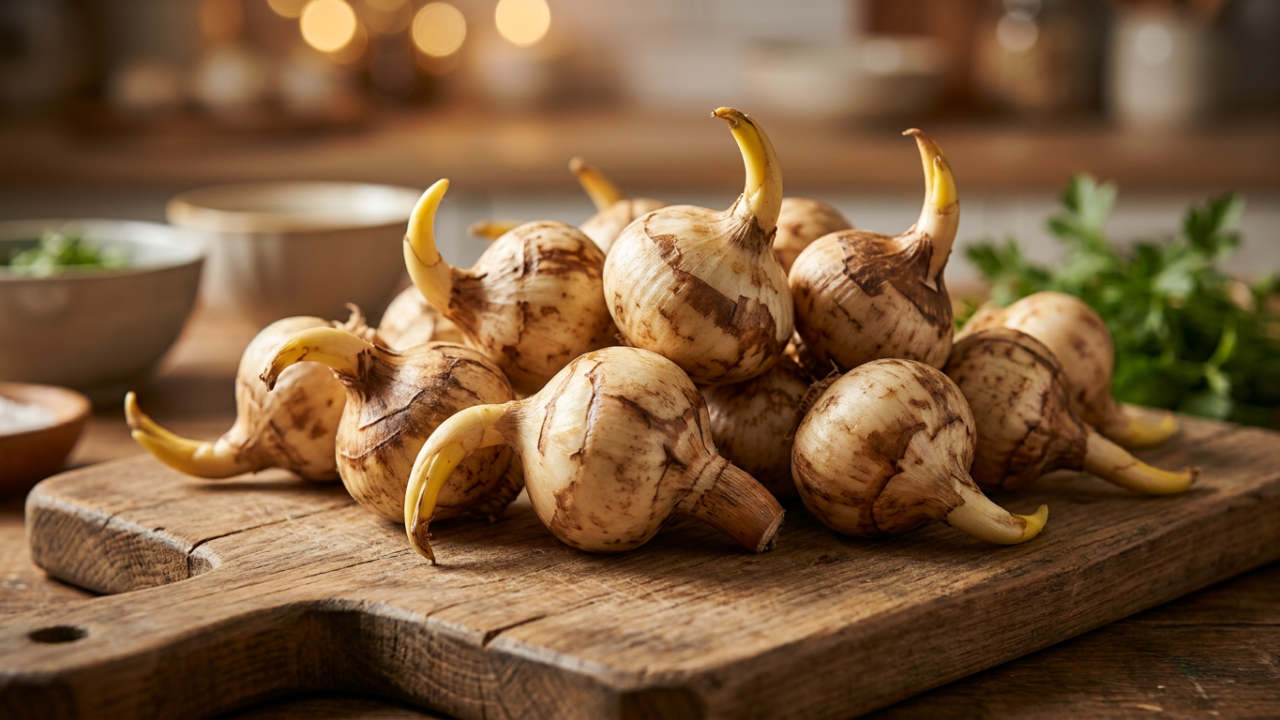
Making homemade arrowhead chips is a straightforward process that turns this unique bulb into a delicious snack. This guide walks you through the entire preparation, from cleaning and peeling the bulbs to achieving the ideal texture. If you enjoy crispy vegetable chips and want to try something different from standard potato snacks, this method is for you.
We focus on the essential steps for success: using a mandoline for consistent slicing and monitoring the oil temperature carefully. Once the bubbling subsides, you know your arrowhead chips are perfectly cooked and ready to eat. This approach ensures you get a light, satisfying crunch without any guesswork.
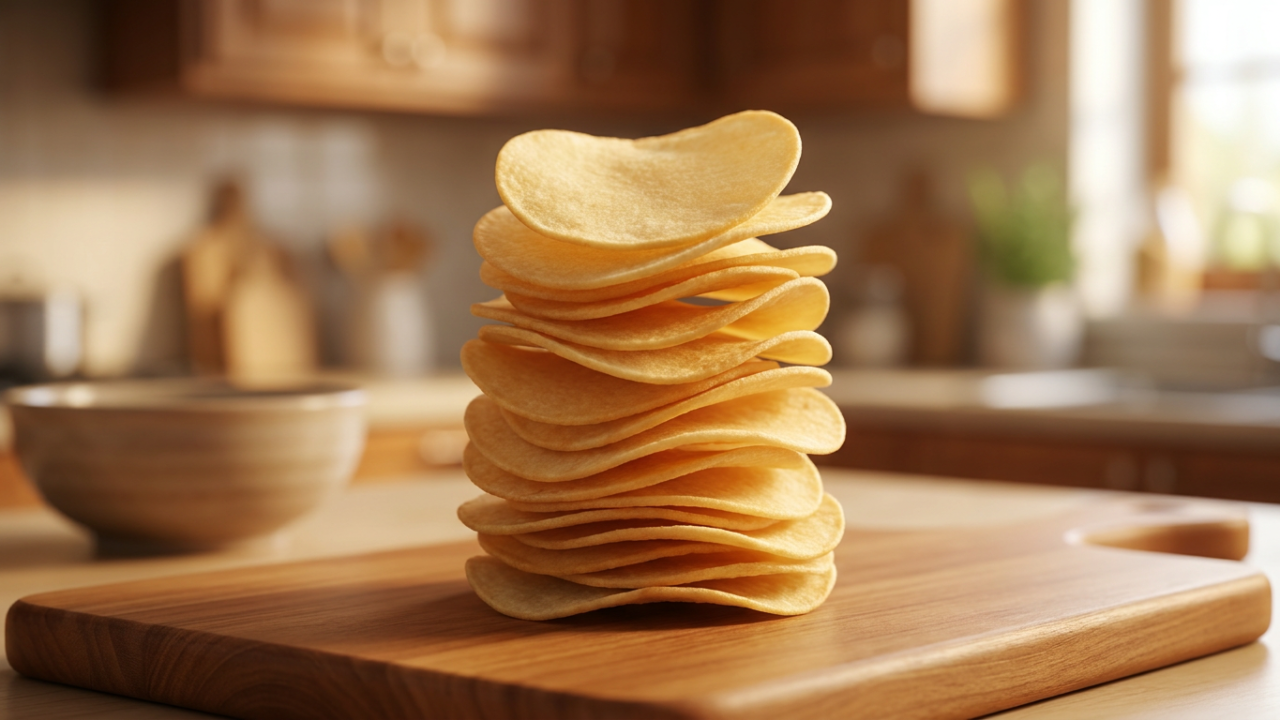
By making them yourself, you’ll not only save money but can use the oil of your choice. The results are fresher, great tasting and crunchier chips!
To make this crispy crunchy chips, click on the video tutorial and print out the recipe below.
YouTube Link: https://youtu.be/ljyY9EIhHPc

Arrowhead Chips (Chiku/Ngaku)
Ingredients
- 500 g Arrowhead bulbs
- Fresh cooking oil for frying
Instructions
- Cut off both ends of the arrowhead bulbs
- Using a peeler, remove the skin
- Wash the peeled bulbs
- Set it aside to dry
- Attach arrowhead bulb to the mandoline slicer handle
- Slice the bulb over hot oil in a pan
- Do not slice too many into the oil or the slices will stick together
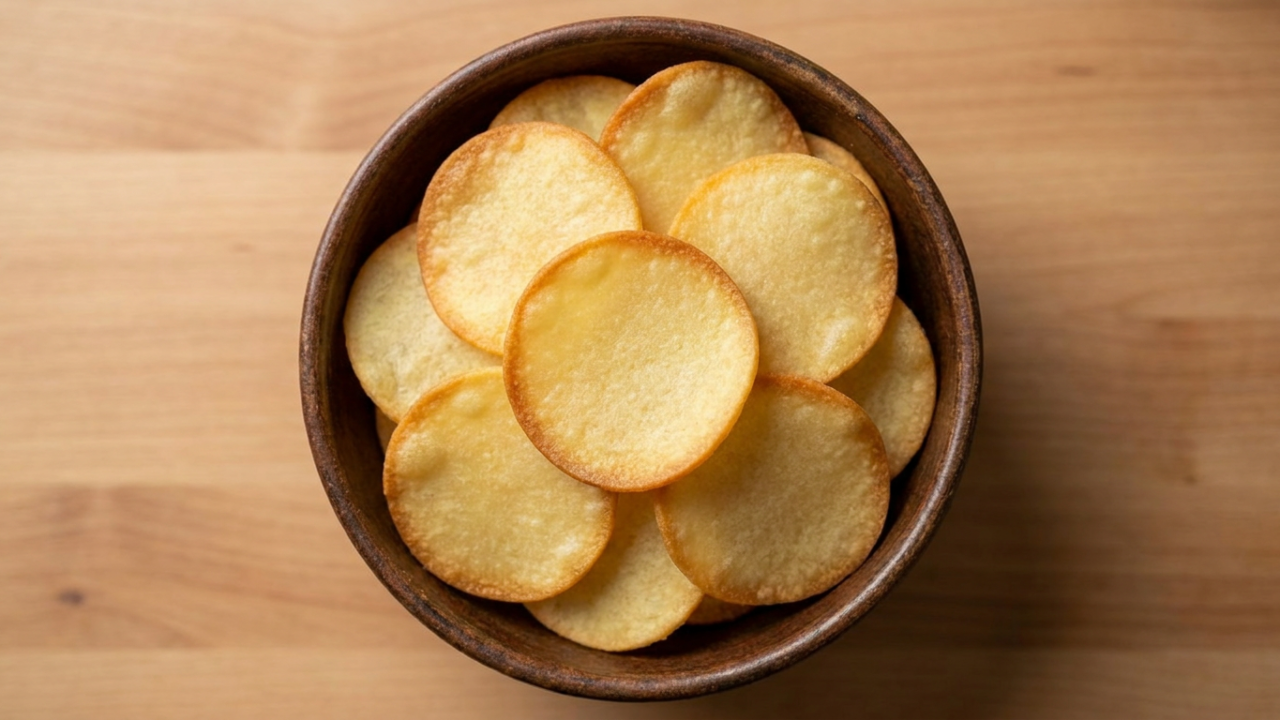
- Fry the chips over medium flame until they turn into light golden brown
- When you notice that the oil bubbling around the chips has stopped, they are ready to be removed from the frying pan
- Place fried chips on paper towel to drain excess oil
Notes
To ensure the chips stay crispy, slice the bulb directly over the hot oil
